what’s up guys, welcome to automationcalling.com!
Introduction
The purpose of this document is to set up SAST and SCA configurations by installing the extension in the Visual Studio code editor and CLI way of execution and going through the results of SAST and SCA.
Snyk Extension Installation in Local/Developer Machine for SAST and SCA Scan
- Open Visual Studio Code Editor
- Install Snyk extension
- Once the installation is completed, it prompts you to connect the workspace
- After that, connect with your credential or SSO https://app.snyk.io/
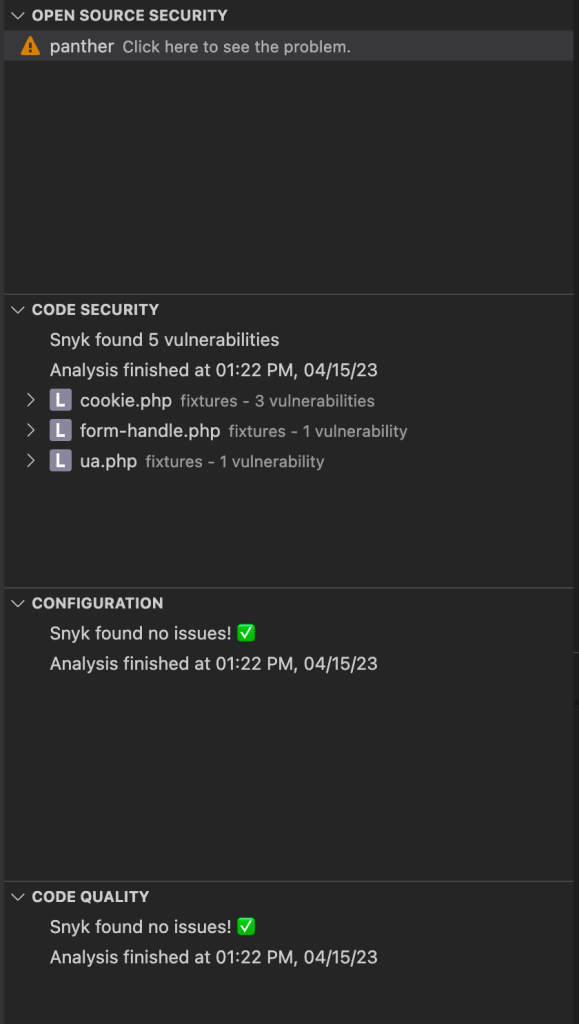
- The workspace gets authenticated and Snyk started analyzing your project in the VS code, and the results are shown below
- Finally, the Code Security, Code Quality, Configuration, and Open Source Security results are shown below
- Open Source Security indicates → SCA OSS
- Code Security and Code Quality → SAST

Snyk Cheat Sheets
The cheat sheets help to understand the easy way of installing and executing commands using Snyk CLI, refer Snyk Cheat Sheets
Snyk CLI Execution in Local/Remote Instance
Pre-requisites
- Install Snyk CLI
- For Windows:
scoop bucket add snyk <github/bitbucket url>scoop install snyk
- For MAC:
brew tap snyktapbrew install snyk
- For NPM:
npm install -g snyk
- For Windows:
- Authenticate Snyk: snyk auth
- The token can be found in your login by clicking on user name → Account Settings → General → Click to show Token
Run SCA and Publish Vulnerabilities in Snyk Dashboard using CLI
- Command to run SCA and publish to the dashboard: snyk monitor
- The monitor command actually runs SCA and creates a project on the Snyk SAAS to be continuously monitored for new vulnerabilities
CI/CD Setup for Jenkins Pipeline
Pre-Requisites
- Install NPM package
npm install -g snyknpminstall snyk-to-html -g- Add your Service Account in Snyk Member
- User→ Account Settings → Under API Seciton → Click To Show
- Configured API token under Jenkins Credentials
Note:
- snyk-to-html installation helps to convert form json to html file. For eg.,
- snyk code test –all-projects –json | snyk-to-html > filename.html
Jenkins CLI
To run SCA:
snyk auth $tokensnyk test || true
To run SAST:
- snyk code test
Exporting the Test Results in JSON or SARIF Format
snyk code test --sarif-file-output=resultssast.sarifsnyk code test --json-file-output=devportal_frontend_sast.json |
Reference:
https://docs.snyk.io/integrations/ci-cd-integrations/jenkins-integration-overview

Leave a comment